What Is Chitubox and How to Use?
Download CHITUBOX for Windows 10
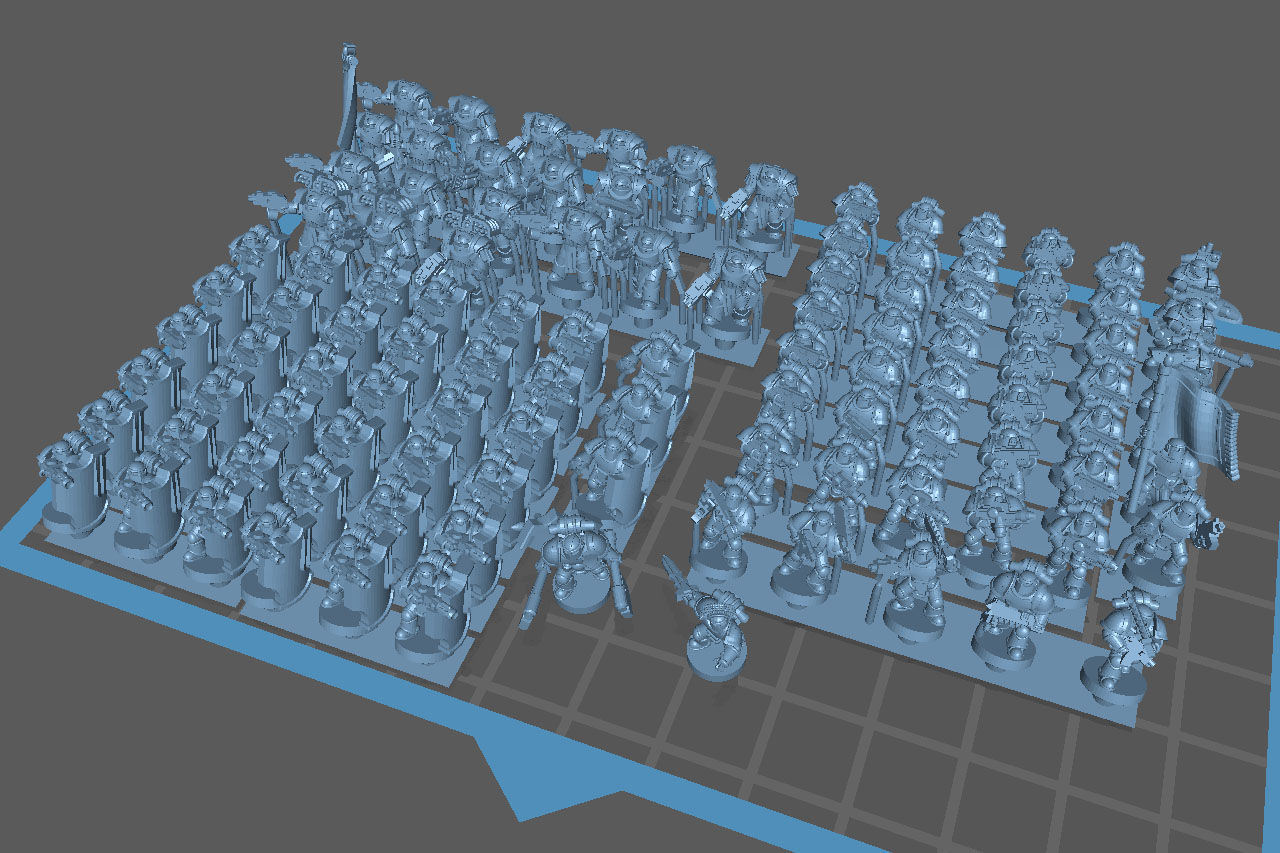
Download NowChitubox is a 3D printing slicing software application. It is available for free on Windows, Mac and Linux. It was created by Chinese company, Shenzhen ChiTu Technology Co. Ltd. Chitubox offers many features for three-dimensional printing, including support for a wide range of 3D printers and file formats. It also has an intuitive interface that is easy to use. One of the best things about Chitubox is that it can be used to create customized 3D printed parts. This means that you can design a part that is specifically tailored to your needs. Another great feature of Chitubox is that it can be used to repair 3D models. This can be very useful if you have a model that is not printing correctly.
Chitubox is an application for Windows that allows you to manage your 3D printing projects. It is a free and open source application that is available for download from the official website. With Chitubox you can create 3D models from scratch or import them from other applications such as Autodesk 123D, SketchUp, or Blender. Once you have a model, you can slice it into individual layers and export it to a 3D printer. Chitubox also allows you to control the settings of your 3D printer and monitor the progress of your prints. It is compatible with a wide range of 3D printers and can be used with any type of filament.
Overall, Chitubox is a great slicing software application that is available for free on Windows, Mac and Linux. It offers a wide range of features and an easy-to-use interface.
Step-by-Step Guide How to Use Chitubox
- Open Chitubox and click “Next” to choose a slicer.
- Choose the type of printer you have and click “Next.”
- Choose the model of your printer and click “Next.”
- Choose the material you want to print with and click “Next.”
- Choose the quality of your print and click “Next.”
- Choose the infill percentage and click “Next.”
- Select the slicing mode and click “Next.”
- Choose the orientation of your print and click “Next.”
- Choose the support type and click “Next.”
- Click “Generate G-Code” to start the slicing process.
- Once the slicing is complete, click “Save G-Code” to save the file to your computer.
- Connect your printer to your computer and open the G-Code file in your slicer.
- Load the filament into your printer and click “Print.”